Introduction
Sherlock's is a secure multi-channel e-commerce payment solution that complies with the PCI DSS standard. It allows you to accept and manage payment transactions by taking into account business rules related to your activity (payment upon shipping, deferred payment, recurring payment, payment in instalments, etc.).
The purpose of this document is to introduce the Sherlock's Portal tool of the Sherlock's solution.
Who does this document target?
This document is intended for Sherlock's Portal users: administrators of E-commerce websites, webdesigners, IT, finance, etc.
For an overview of the Sherlock's solution, we recommend you consult the following documentation:
Important understandings
Operating the Sherlock's Portal is based on a few important understandings that define the way you interact with the tool.
Roles
The role determines the tabs you will have access to and defines the actions you will be able to perform.
A user role can be seen as a predefined set of access rights. This operating mode simplifies the user creation process by allowing a set of rights to be assigned to a given account in one single operation.
A user can be assigned several roles from the following:
| Role | Description |
|---|---|
| Merchant Transaction Manager | Allows access to 'Sherlock's Gestion'. |
| Merchant Fraud Manager | Allows access to the 'Fraud tab'. |
| Merchant PagesCustom Manager | Allows access to the 'Pages customization' tab. |
| Merchant Download Manager | Allows access to the 'Download' tab. |
| Merchant Admin | Allows access to 'Contracts', 'Users', 'Fraud', 'Pages customization', 'Download', 'Transactions management' tabs. |
Access Points
The access point is your entry point in the hierarchy. It determines the merchant level you will be able to view and manage.
A role assigned to a user account is always associated with an access point: Merchant or webshop.
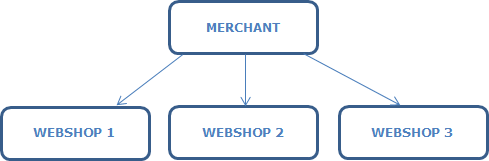
- Merchant ("CG", Commercial Group): a merchant is a group of webshops. It is a level that allows a user to manage a webshop pool with one single access.
- Webshop ("POS", Point Of Sale): a webshop is the lowest level in the hierarchy. Transactions are processed at the webshop level. It is also at the webshop level that all the functionalities and means of payment are saved. A webshop has a unique ID, called "Merchant ID". Every merchant has at least 1 webshop.
The role confers rights to the associated access point and to all the units under it.
Example:
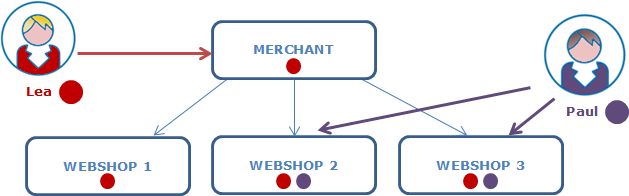
Lea (red dots) has an administrator role on the merchant, which gives her this very same role on the three webshops without having to assign her the rights on each shop individually. If a fourth webshop is added to the merchant later, Lea can administer this new webshop in the same way, without the need to grant her additional rights.
Paul (purple dots) has an administrator role strictly on webshops 2 and 3. It was necessary to explicitly assign the roles to each of the two webshops.
Logging in
Receiving your credentials
After registering your webshop, you will receive an E-mail similar to the below example:

This E-mail includes your login ID and tells you how to set your password.
Please follow the instructions in the E-mail received. Your password must:
- include between 12 and 20 characters
- include at least 1 lower case
- include at least 1 upper case
- include at least 1 digit
- include at least 1 special character
Once your password is set, you will be able to log in to the Sherlock's Portal.
Login URL
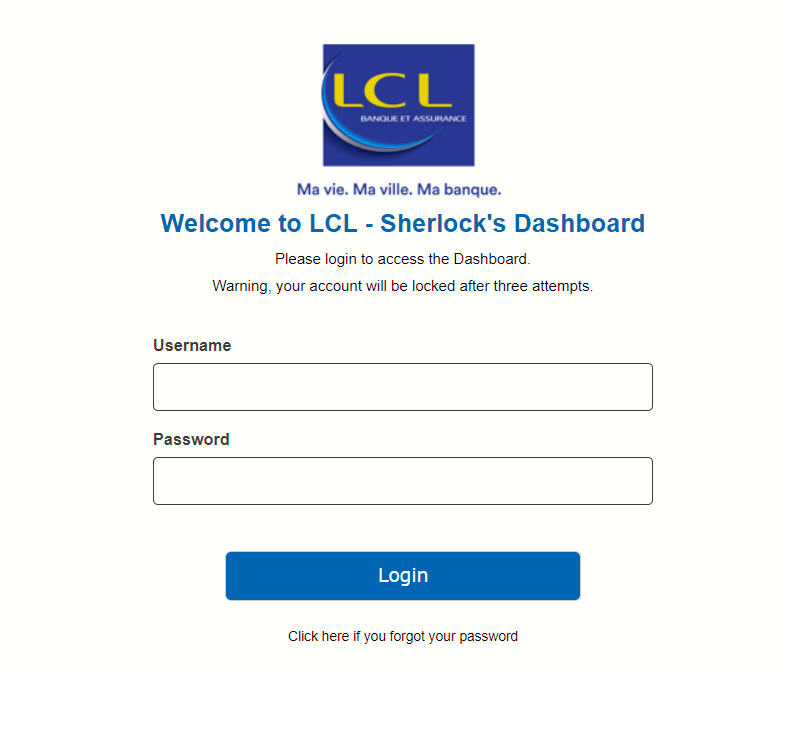
Click the URL below to access the Sherlock's Portal:
https://sherlocks-extranet.secure.lcl.fr
Then enter the login credentials you received to log in:
Then, you arrive on the page to enter the security code.
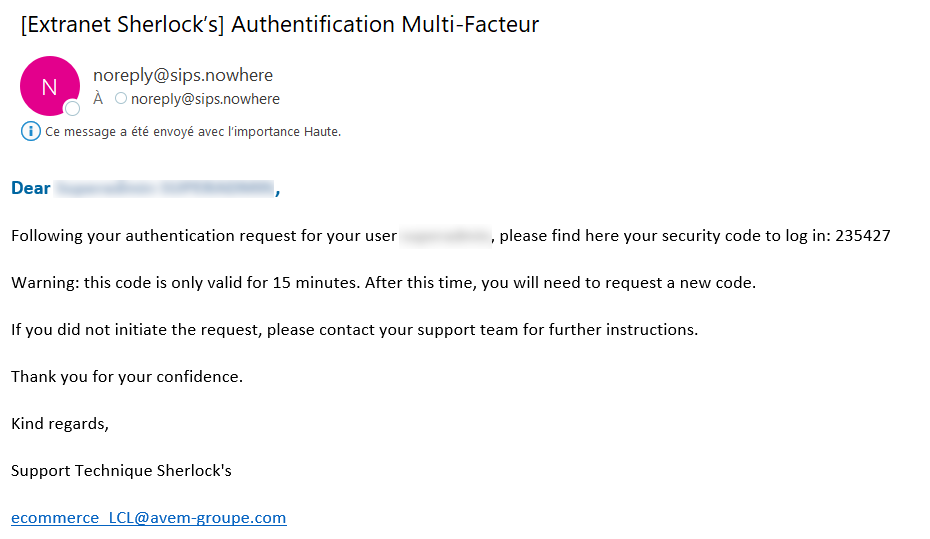
You have to enter the security code received by email.
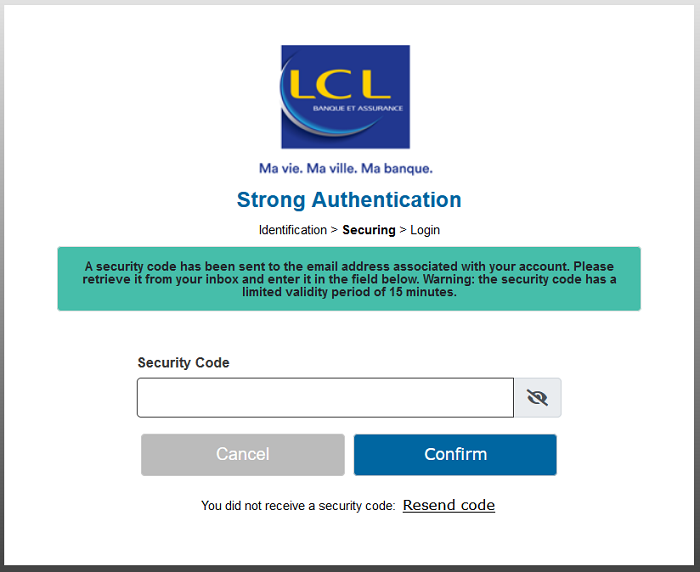
For your information :
- Field "Security Code" : You enter the 6-digit code you received earlier by email.
- "Cancel" Button : By clicking on the "Cancel" button, you will return to the login page.
- "Confirm" Button : By clicking on the "Confirm" button, the validity
of the security code is checked. In case of success, you will be
redirected to the MEX home page. In case of failure, you will remain on
the security code entry page, and a message will be displayed :
Error type Message Incorrect security code The code entered does not match. Please try again. Expired security code Your security code is no longer valid. Please request a new code. Exceeded number of attempts You have made too many attempts, your security code is no longer valid. Please request a new code. - "Resend code" Link : By clicking on the resend link, the security code is resent by email.
Example of an email you will receive :
Access point and role
If your user account is linked to a single role, e.g. 'Merchant Admin', you will be redirected straight to the Sherlock's Portal dashboard after logging in.
But if your user account is associated with several access points (for example 'Merchant and Webshop 1'), you will be asked to select an access point after logging in.

In case the selected access point is linked to several roles, you will have to select a role.

Finally, click on the  button to access the Sherlock's Portal dashboard or on
  to reset the form.
If you have multiple roles, you can change your current role by using the change role link in the header

Managing your identification
Regardless of which access points and roles you are associated with, you can perform various actions from the login screen or, when connected, from the main interface.
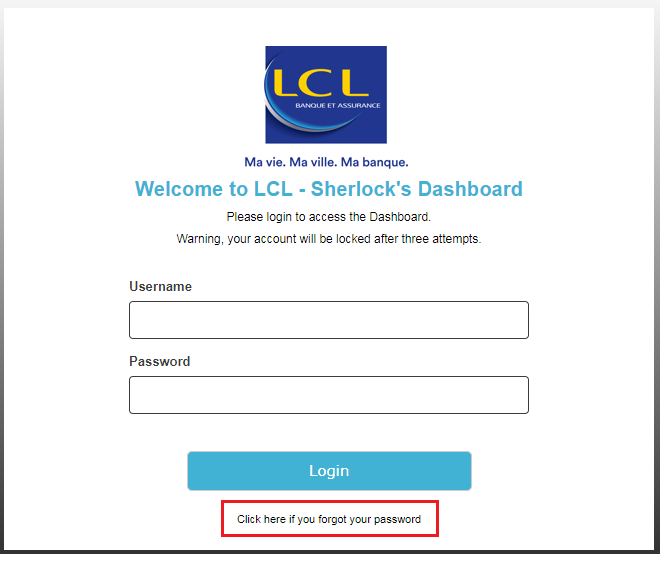
Password forgotten
If you have forgotten your password, you can receive a new temporary password by doing the following:
- Click on the 'Click here if you forgot your password' link below the
 button:
- enter your username and email address in the form:

- finally, click
 to confirm the request, or to return to the login screen.
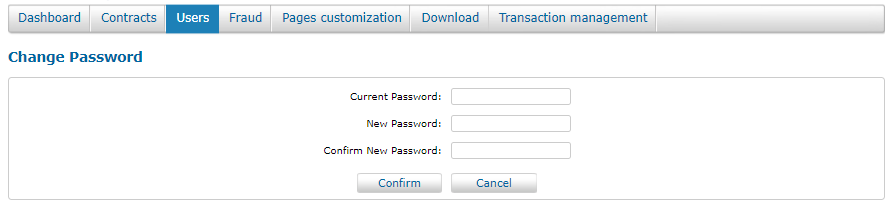
Changing your password
After you have logged in, click on the 'Change Password' link at the top of the main interface:

Then enter your current password and your new password in the corresponding fields:
Your new password must:
- include between 12 and 20 characters
- include at least 1 lower case
- include at least 1 upper case;
- include at least 1 digit
- not be the same as one of your last 3 passwords saved in the tool.
Click on to confirm the password change, or on to reset the form.
Temporary or expired password
If you attempt to log in using a temporary or expired password , you must change it right after you log in to the Sherlock's Portal.
The Sherlock's Portal will then automatically redirect you to the password change form (cf. previous section):
- enter your current password and new password
- then click on to confirm the change, or on to reset the form.
Changing your E-mail or your name
You can change the name, first name, and E-mail associated with your account. To do so, click on the 'Change User Account' link at the top of the main interface.

Then, edit the desired details in the corresponding fields:
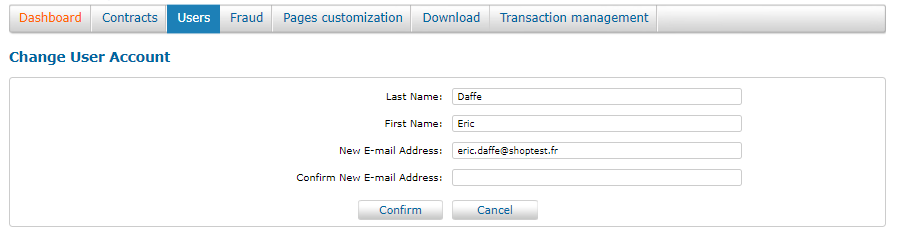
Last, click on to commit the changes, or click on to reset the form with the old values.
Changing the interface language
You can change the interface language after you have logged in. Just click on the link for the desired language:

Accessing the applications
The Sherlock's Portal includes and provides access to a number of actions and applications, as tabs.
- tabs shown when connected as a 'Merchant Admin' user:

- tabs shown when connected as a 'Merchant PagesCustom Manager' user:

Click on a tab to access the associated application.
| Tab | Usage |
|---|---|
| Contracts | Administer of shops and associated parameters. |
| Transactions management | Viewing the transactions of a webshop and operations on these transactions. |
| Users | Administer users associated with merchants and webshops. |
| Fraud | Set up fraud tools. |
| Pages customisation | Redirect to the Sherlock's CustomPages payment page appearance customisation tool. |
| Download | Download the secret key. |
Home
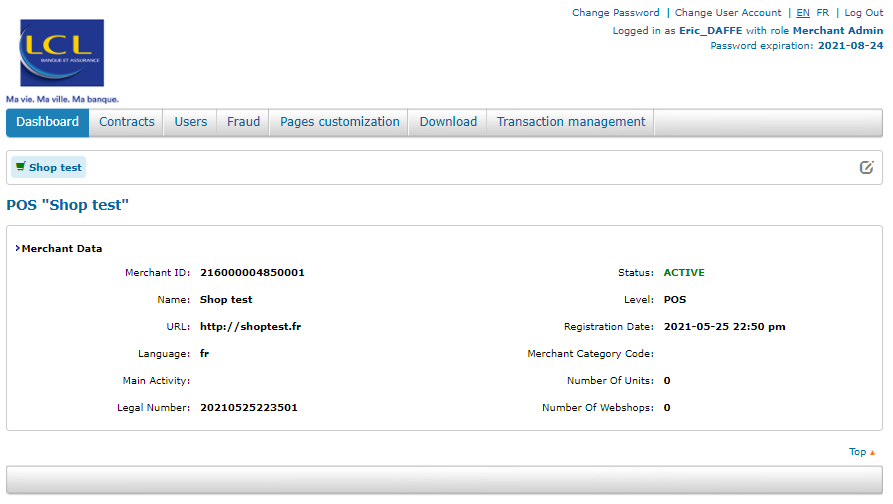
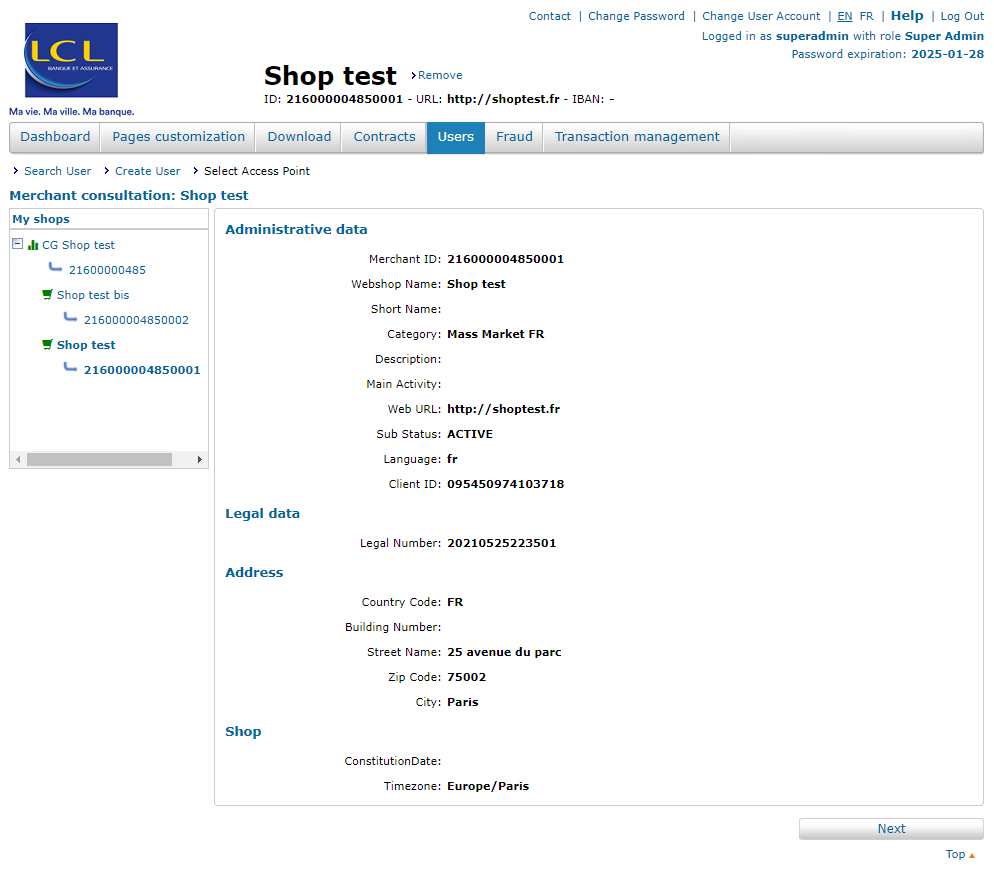
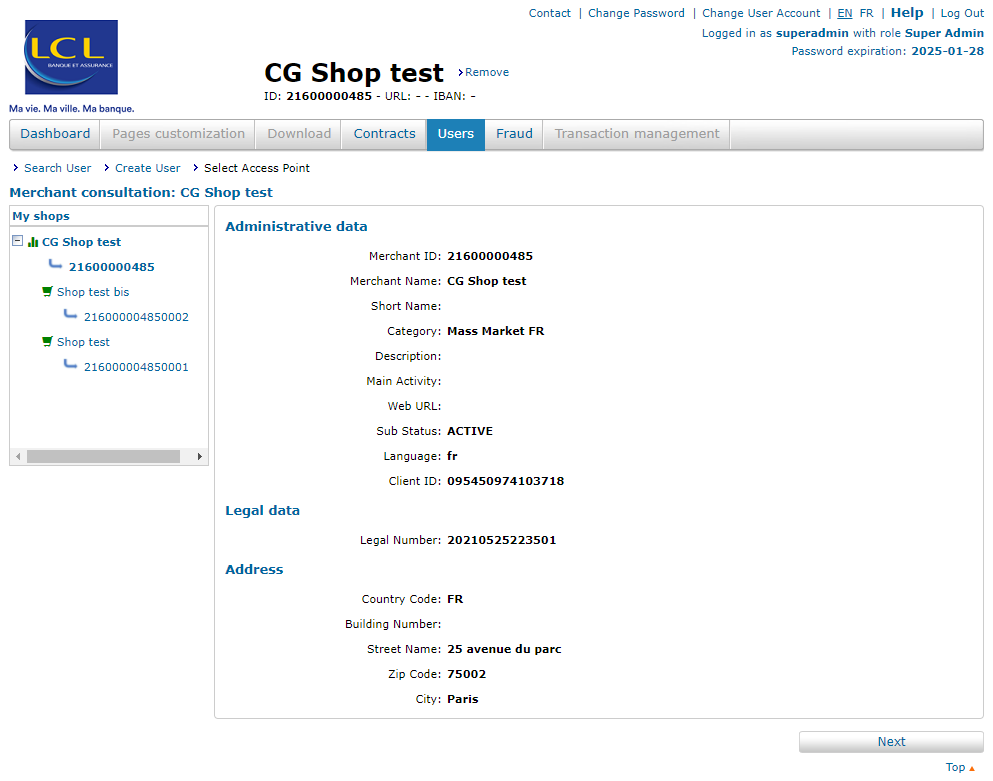
This is the default view displayed by the Sherlock's Portal.
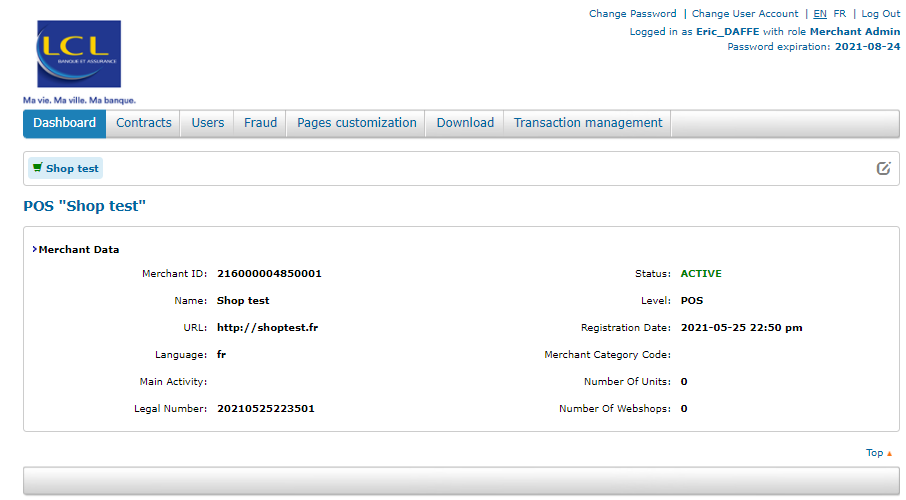
The dashboard shows a summarization of the webshop or merchant's data, depending on the access point selected when logging in.
Users
The 'Users' tab allows you to manage users associated with merchants and webshops.
Creating/activating a user
After clicking on the 'Users' tab, a  button displays at the top right of the search form.
Click on this button to create a new user.
button displays at the top right of the search form.
Click on this button to create a new user.
A form displays that allows you to enter information about this new user, including:
- the user's confirmation E-mail
- the user's preferred language
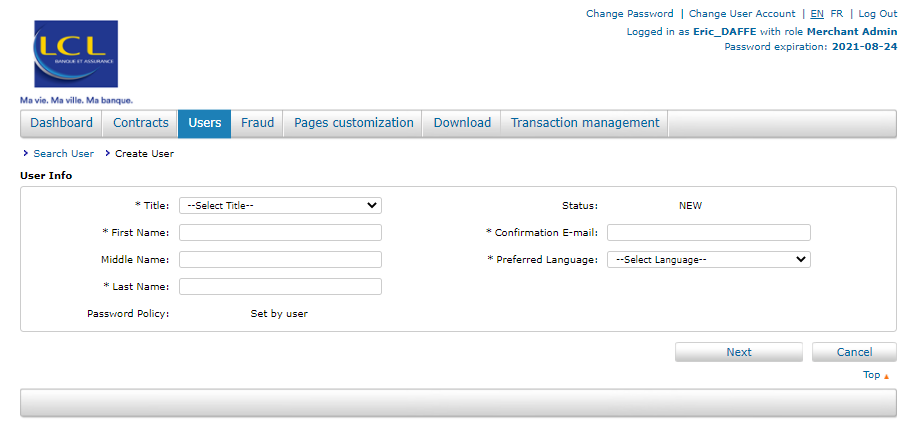
Once you have entered this information, click on to confirm the user creation, or click on to go back to the search form.
The tool displays detailed information on the access point selected for the new user. If your user account has access to a single webshop, the new user's access point is positioned by default on this webshop:
In this context, selecting a CG as an access point is not allowed.
However, if your user account has a 'CG' access point, you can select the CG or POS as an access point for the user currently being created (the CG selected by default).
If you have selected an intended access point, click on 
Then select the role and optionally the Sherlock's Gestion rights:
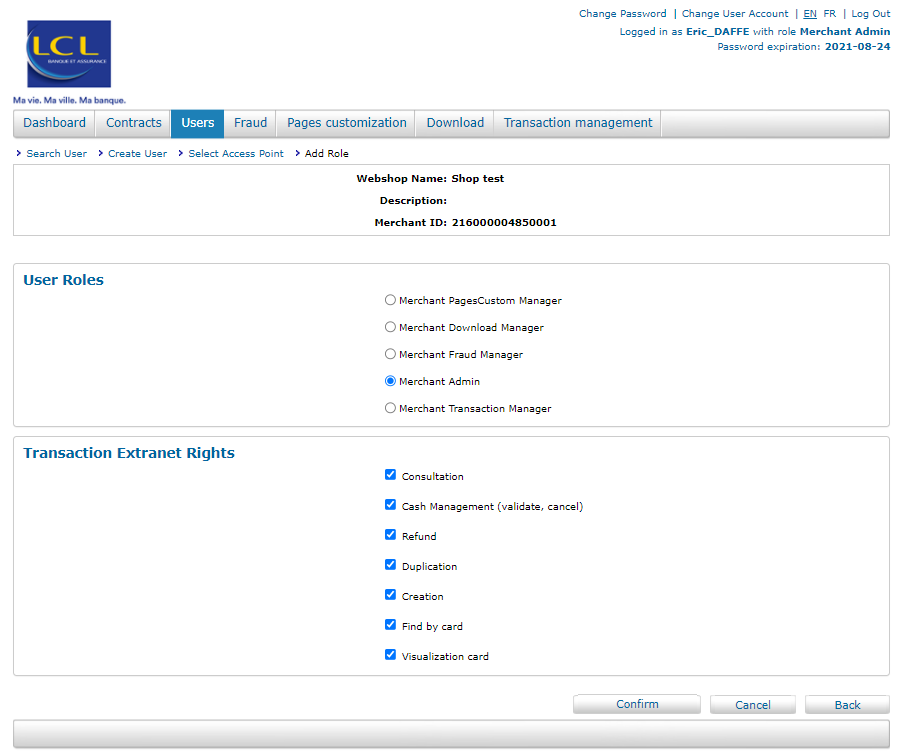
Click on
The tool confirms that the user has been created:
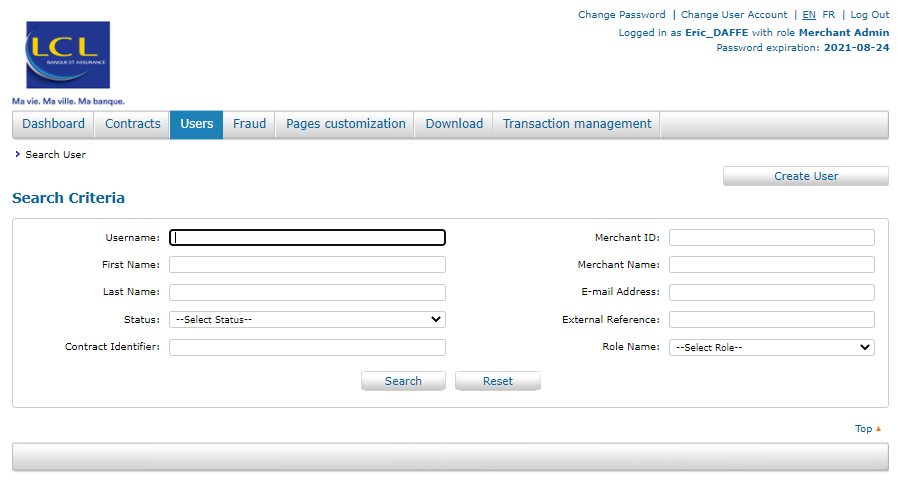
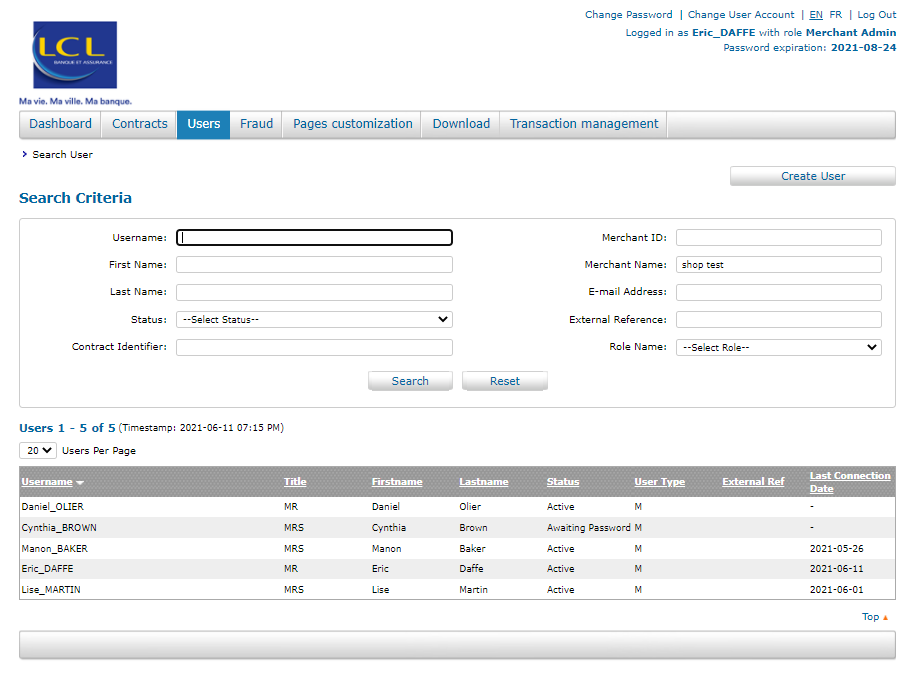
Searching for a user
On the 'Users' tab, enter your criteria in the search form and click on
 to start the search (or on
  to reset the form).
A list of results is then presented to you:
Click on the row of the user you are interested in to view the detailed information for that user:
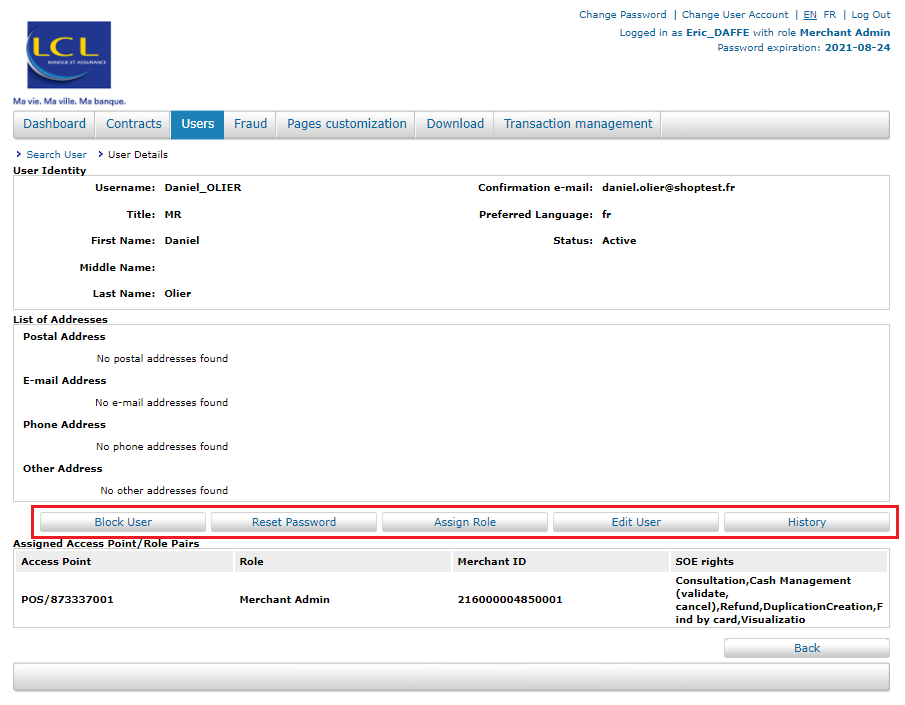
From this screen, you can perform various actions for this user by clicking on the available buttons:
| Button | Associated Action(s) |
|---|---|
 |
Allows you to reset this user's password, for example, the user has forgotten their password. |
 |
Add a role for the selected user. |
 |
Update the detailed information for the selected user. |
 |
Review all actions performed on this profile. |
 |
Block this user's login credentials, which means the user will no longer be able to log in to the Sherlock's Portal. |
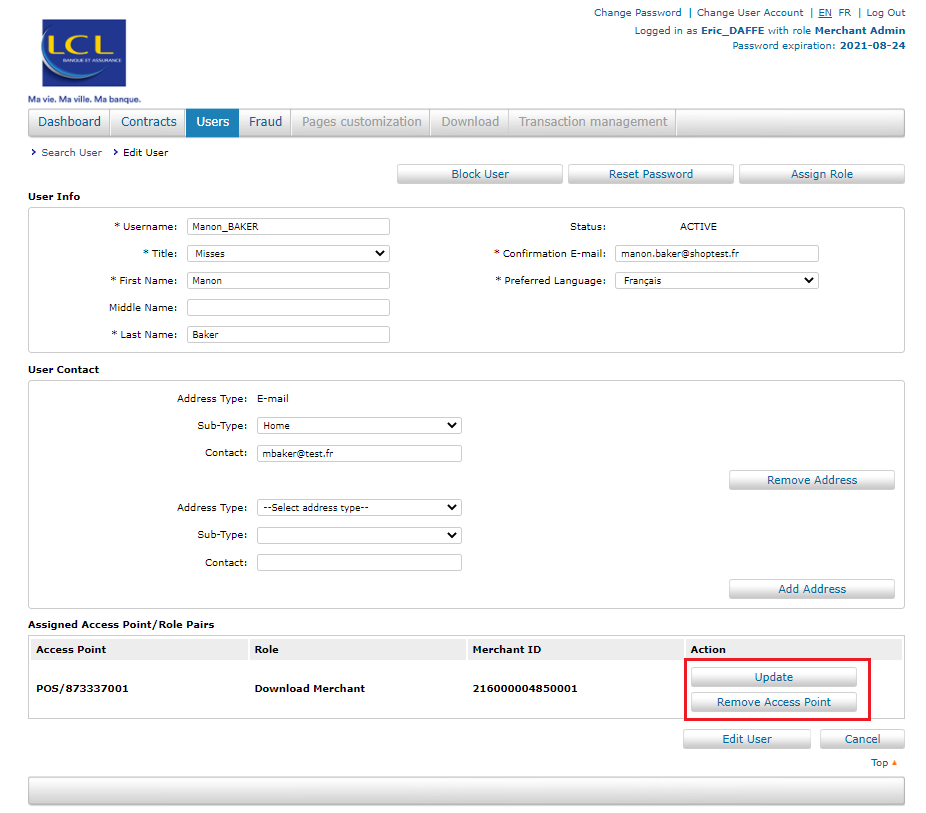
Updating a user
From the user details screen (cf. previous section), click on the
button to access the change form:
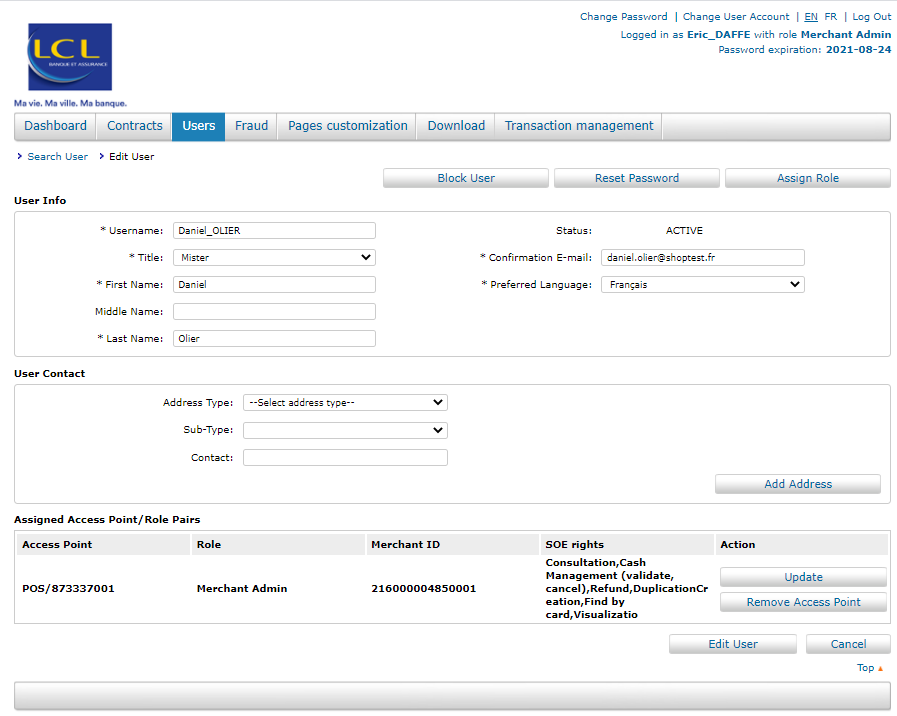
In addition to some actions already available in the user details screen (lock user, reset password, add role), you can now:
- change the user information displayed in the form and validate the
changes by clicking on the button at the bottom of the page
- add an address in the 'User Contact' block by clicking on the
 button
 - or even manage access points and roles assigned to this user by
clicking on the
 and
and  buttons (cf. the 'Managing
the access point and role' section).
buttons (cf. the 'Managing
the access point and role' section).
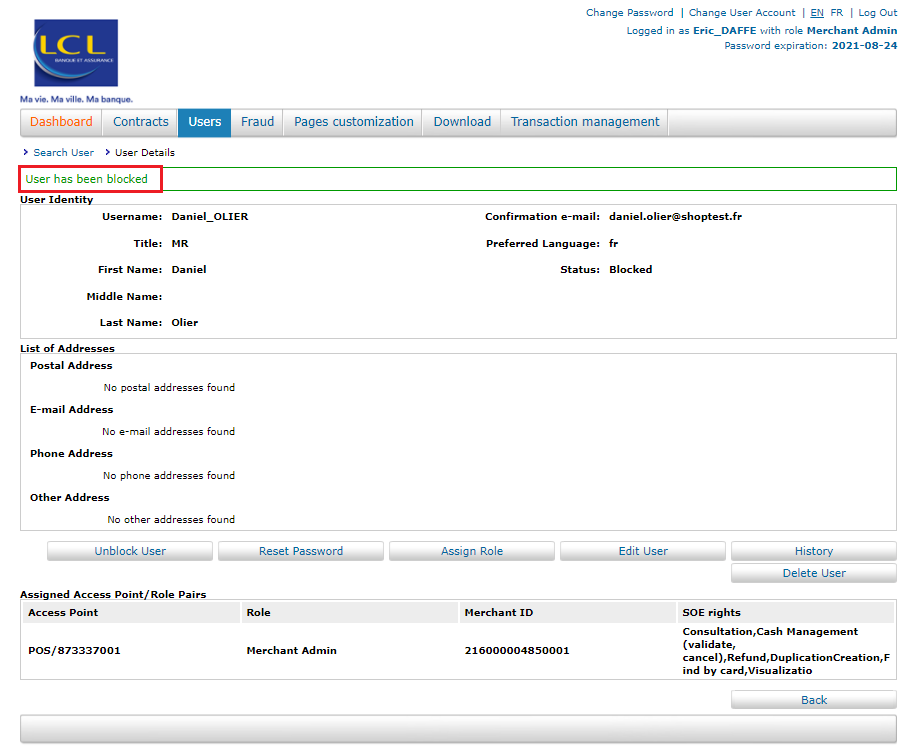
Blocking a user
From the user details screen, click on the button to block the user's login credentials.
A pop-up window in your web browser will ask you to confirm the blocking:
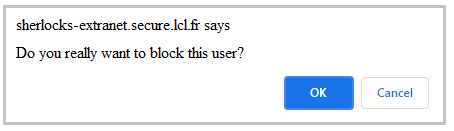
- click on 'OK' to confirm the blocking
- a confirmation message will then inform you that the user has been successfully blocked
Deleting a user
If you have blocked a user (see the 'Blocking a user'
section) so they can no longer log in to the Sherlock's Portal,
you can permanently delete the user by clicking the  button.
A pop-up window in your web browser will ask you to confirm the deletion:
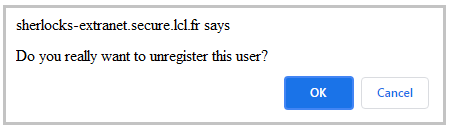
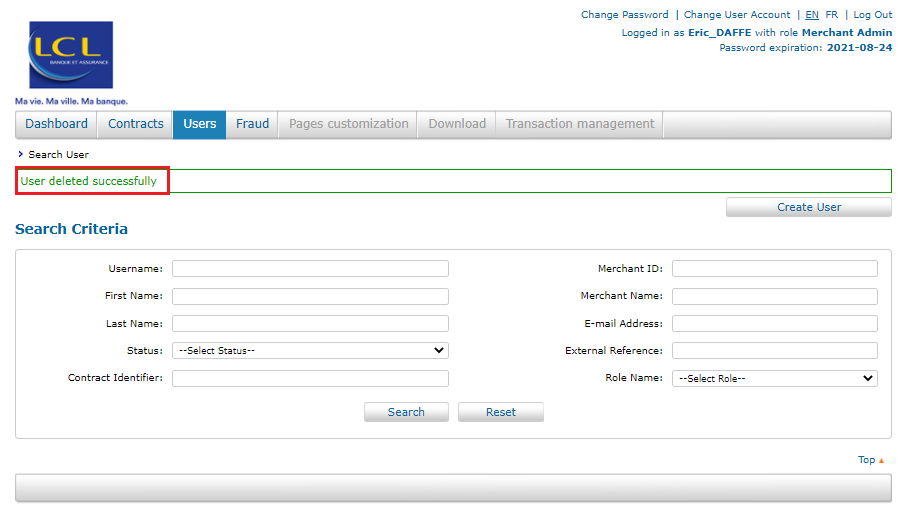
- click on 'OK' to confirm the deletion
- a confirmation message then informs you that the user has been successfully deleted and displays the user search form again.
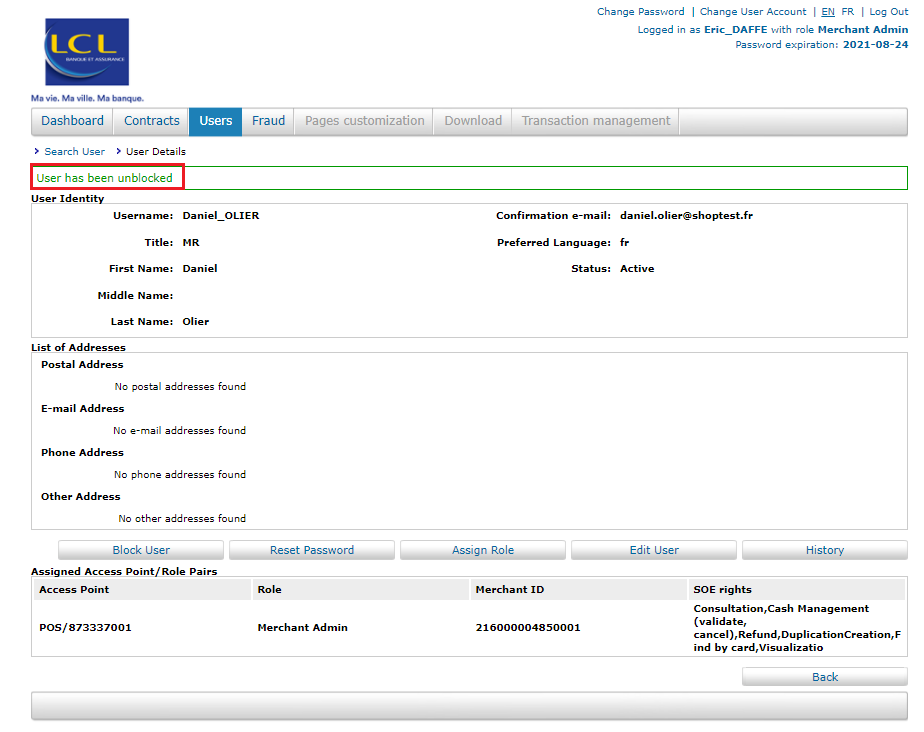
Unblocking a user
You can unblock a user you blocked (cf. the 'Blocking a user'
section) so they can use their login credentials again in the Sherlock's Portal. To do this, click on the  button.
A pop-up window in your web browser asks you to confirm the reactivation:
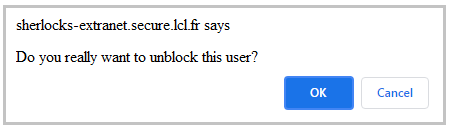
- click 'OK' to confirm the reactivation
- a confirmation message then informs you that the user has been reactivated.
Managing the access point and role
Each user in the Sherlock's Portal must be associated with at least one access point and a role in order to access the data (for more information please refer to the 'Roles' and 'Access Points' sections at the beginning of this documentation).
To manage the access points and roles assigned to a user, browse to the user information update form (cf the 'Updating a user') section.
Then, to manage an existing role:
- In the 'Assigned Access Points/Role Pairs' block, click on the
button to change the role of access point
concerned
- or click on the button to delete the access point concerned
Or, to add a new role:
- click on the button at the top of the form.
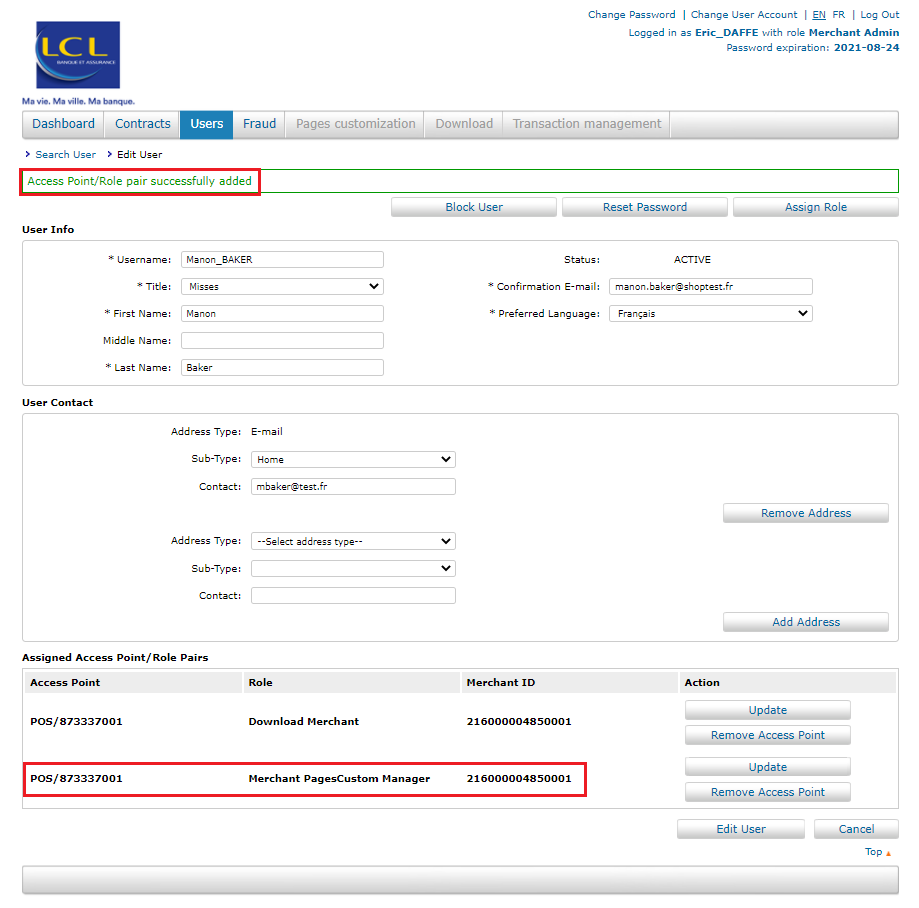
You then gets the following screen:
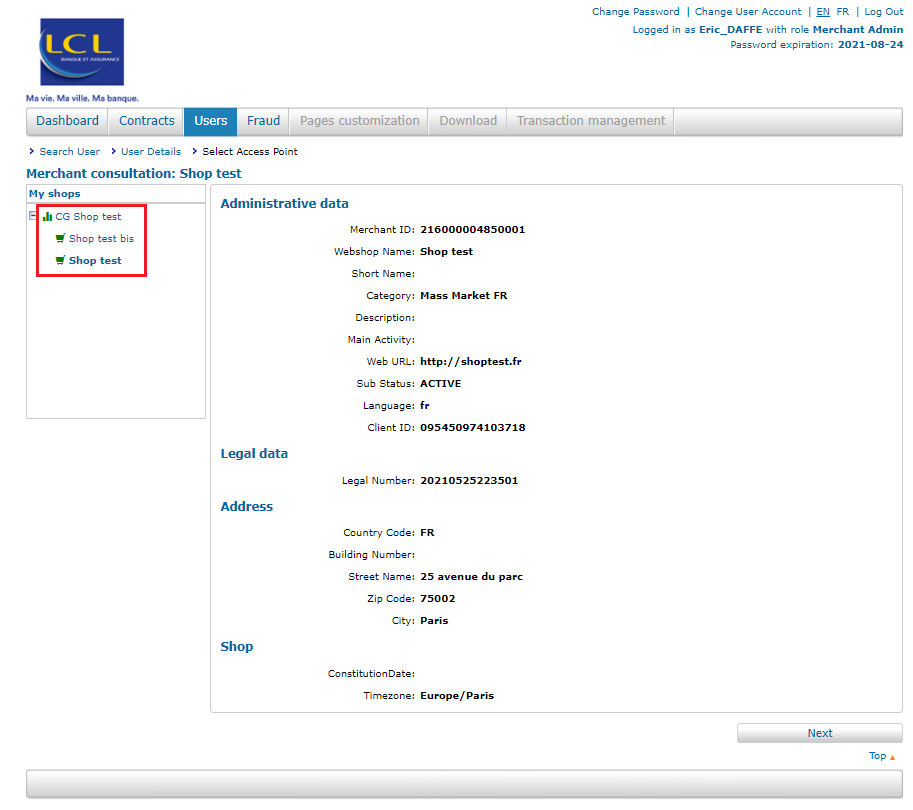
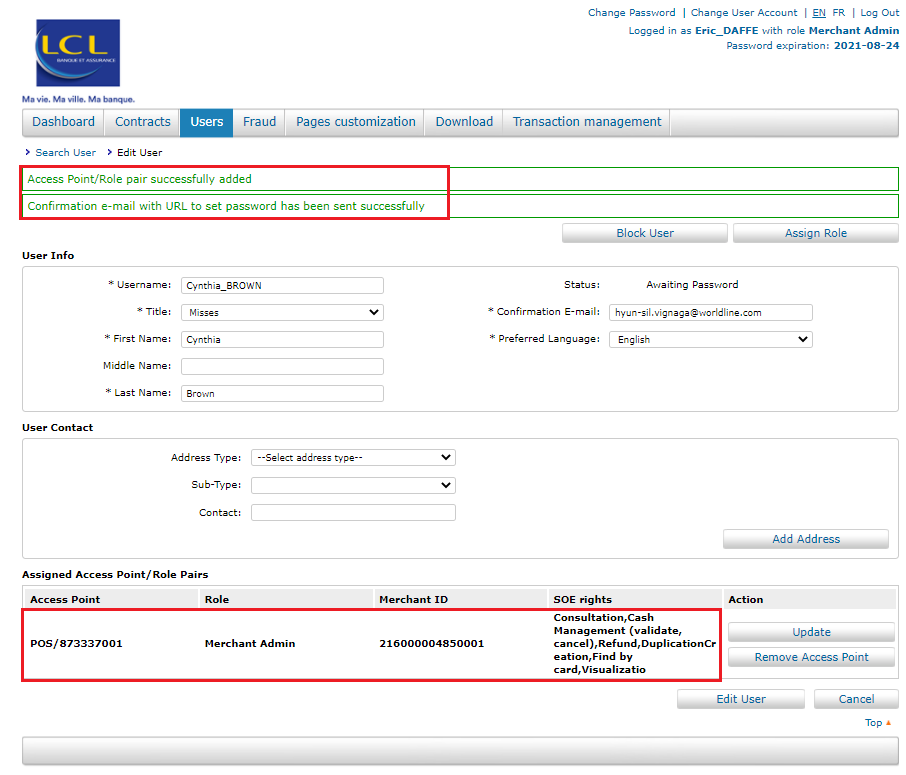
- select the desired new access point in the left column: the assigned access point is shown in bold
- click on the button
- select the desired role from the list
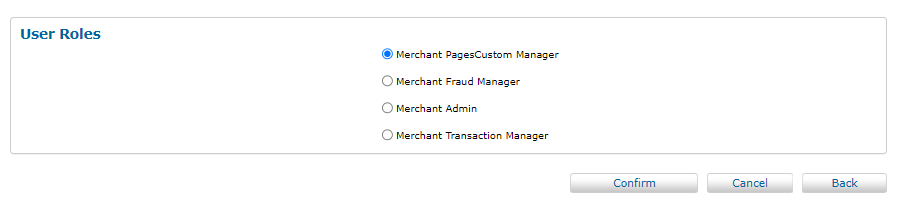
- click on the button at the bottom right.
The new access point and role have been successfully added to the user:
Fraud
The 'Fraud' tab allows you to access the fraud management interface.
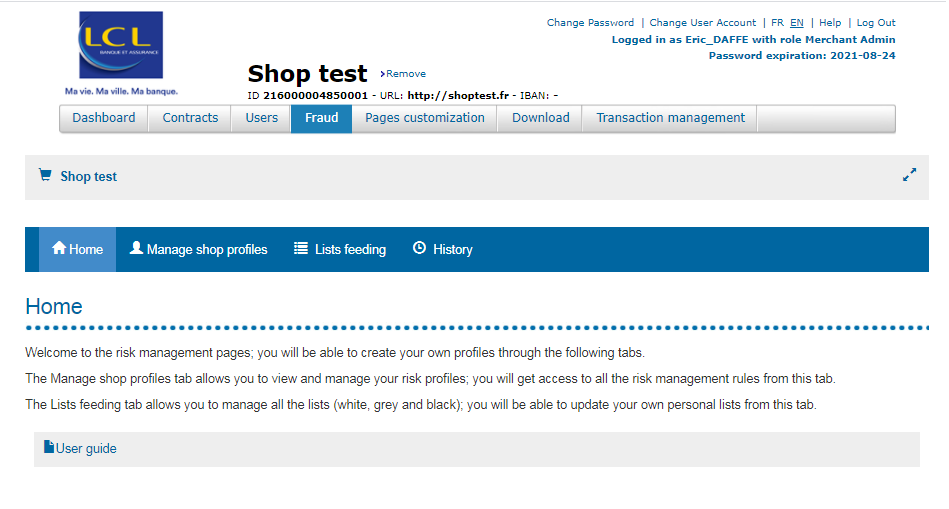
For more information, please refer to the fraud-related documentation:
Go-No-Go fraud risk management
Transactions
Use this tab to access Sherlock's Gestion. You will be able to view transactions for a specific webshop and perform various operations on these transactions.
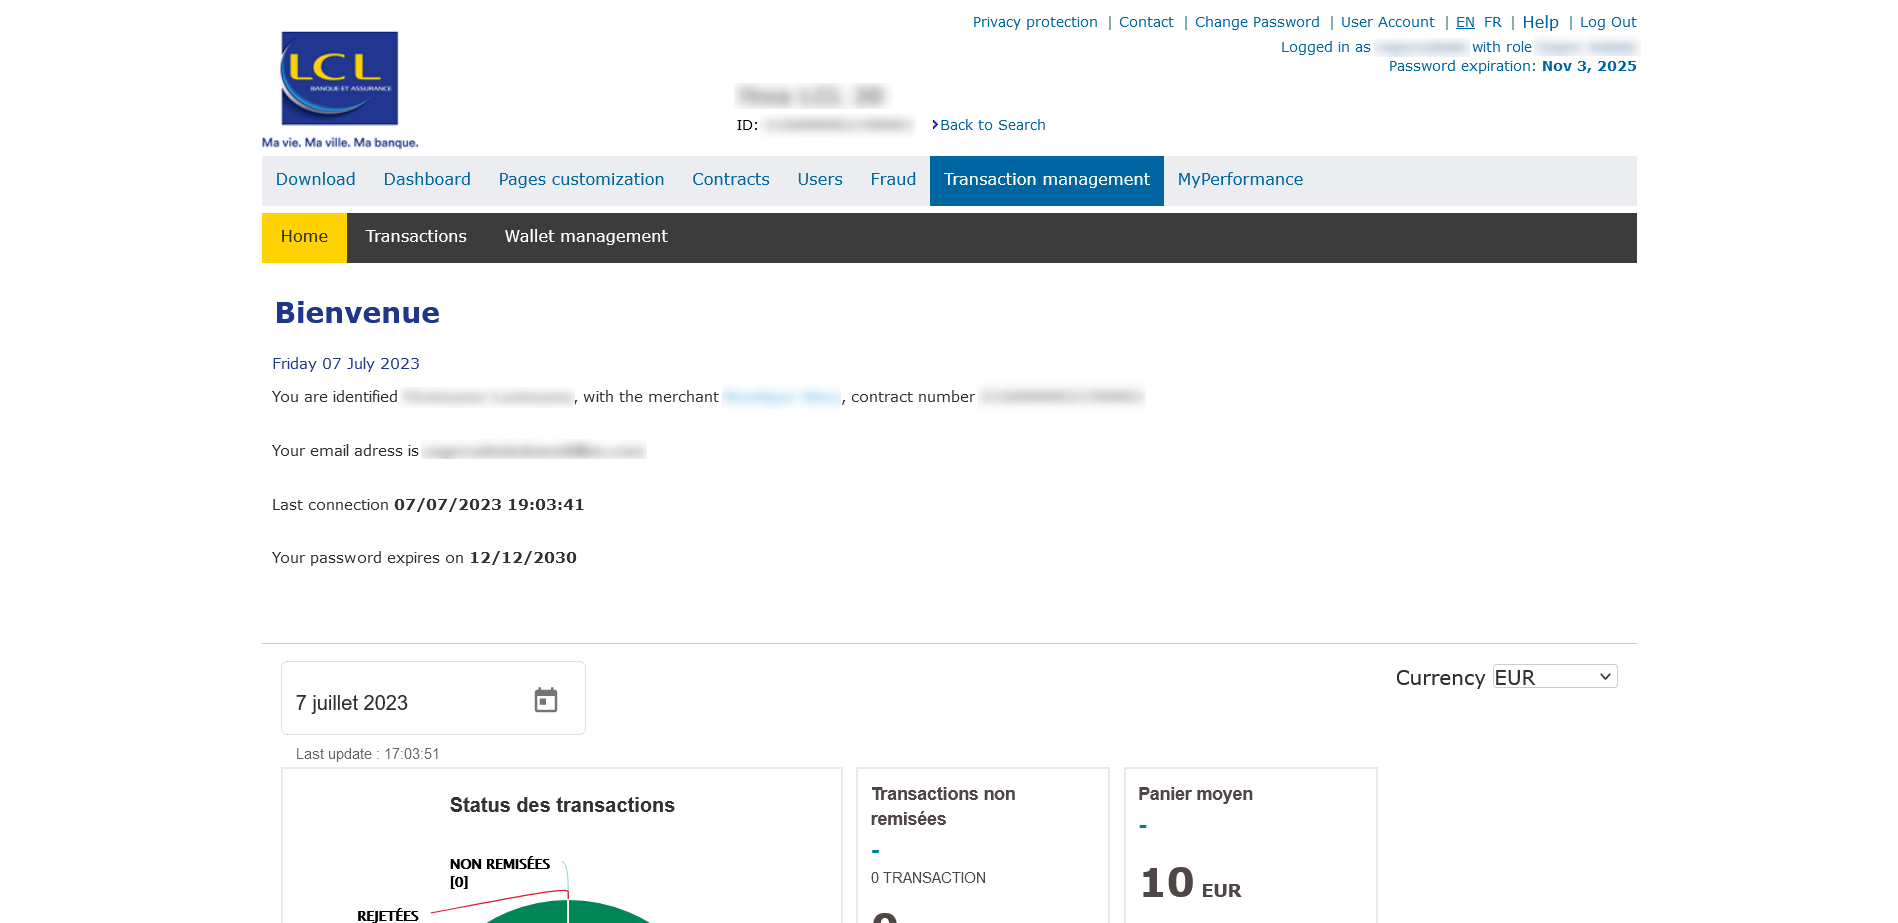
For more information please refer to the following documentation: Sherlock's Gestion.
Customising pages
With this tab, you access the Sherlock's CustomPages application, which will allow you to customise the appearance of your payment pages.
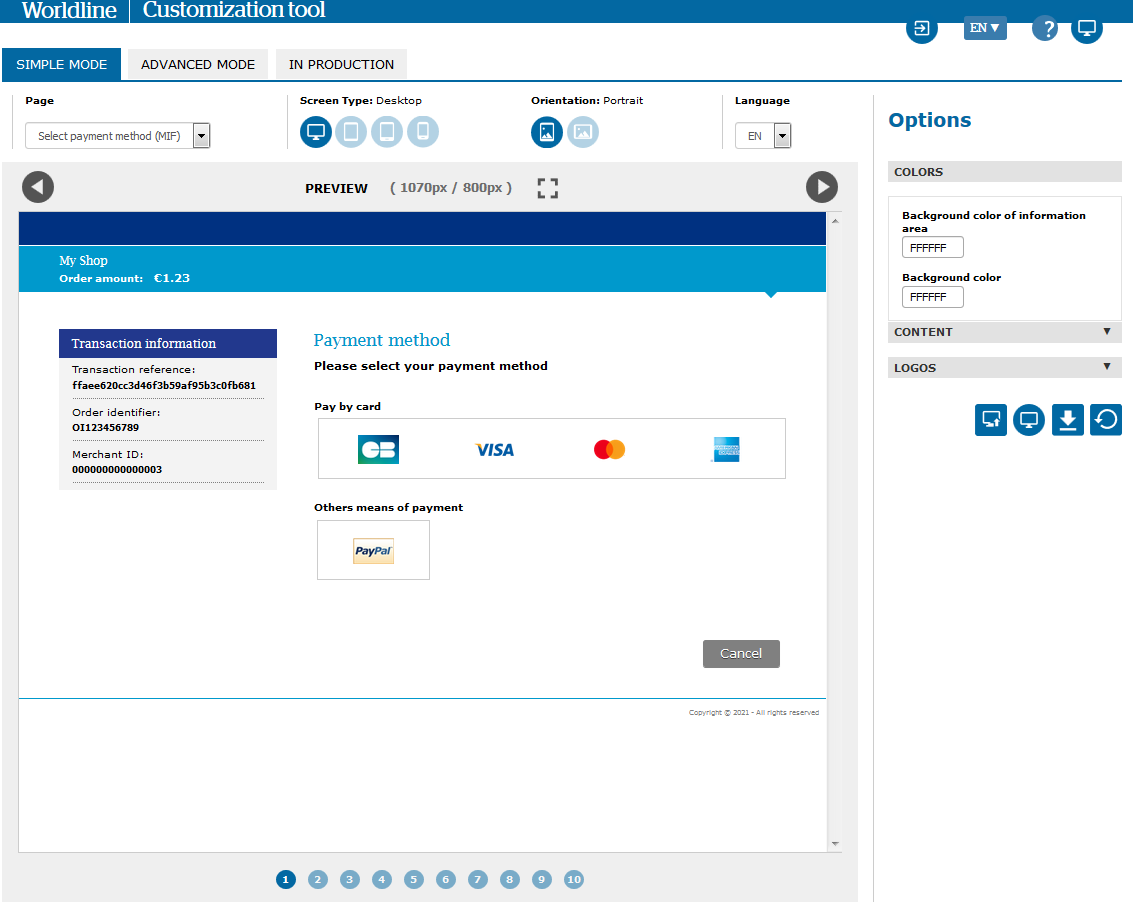
For more information please refer to the following documentation: Payment pages customisation guide.
Download
This tab allows you to access the Sherlock’s Téléchargement application, for you to download the secret key .
For more information please refer to the following documentation:Sherlock’s Téléchargement.
MyPerformance
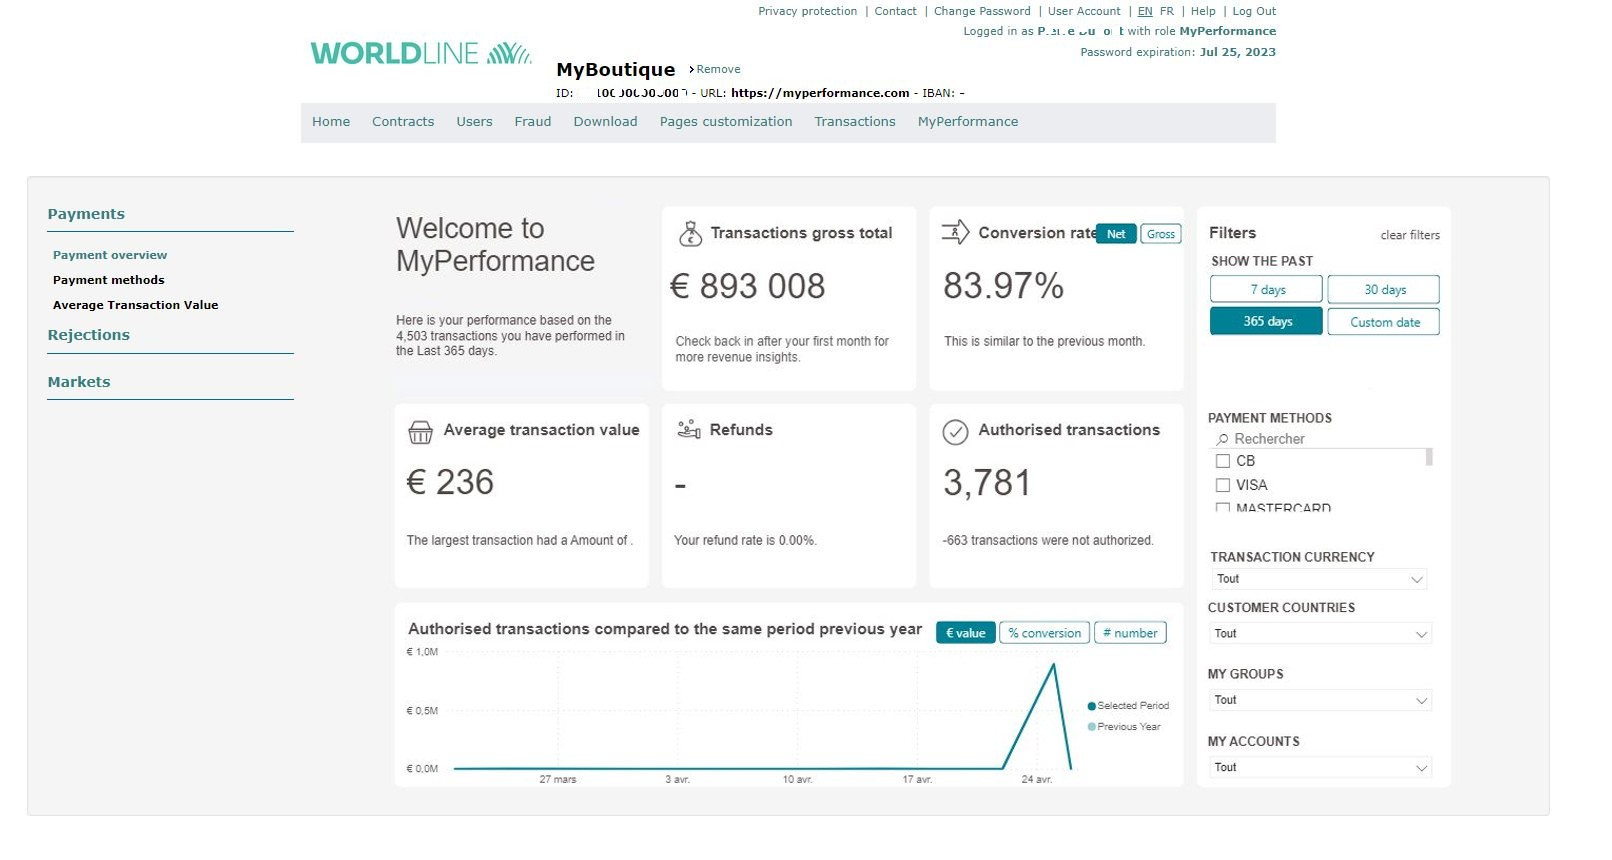
This application displays graphics with the payments performances of your webshop. You can find your revenue figure, the reasons why your transactions have been refused or the payment means used.
Graphics are updated every day.
You can switch from one page to another using the menu on the left of the graphics. You can also use filters on the right of graphics to filter on a specific period or on a specific webshop.
You can access this page if your offer have MyPerformance offer active for the whole company (throught a CG or POS) or if your webshop (POS) have the option in the tab Contracts
For more information about My Performance, please consult the dedicated documentation.